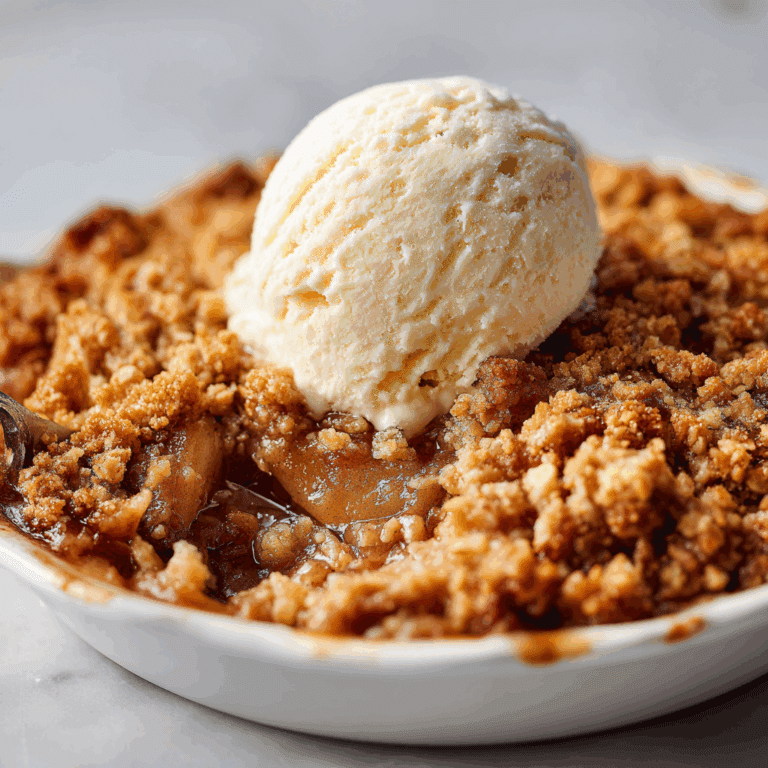
Why Mochi Ice Cream Is Your New Favorite Treat

Mochi Ice Cream is a delightful, bite-sized dessert that combines the chewy texture of traditional mochi with the rich, creamy filling of ice cream, creating a uniquely satisfying experience that’s capturing the hearts of sweet lovers everywhere. This perfect sweet escape brings a fun twist to classic ice cream, inviting you to enjoy a cool treat wrapped in a soft, stretchy exterior that’s as delicious as it is fun to eat.
Why You’ll Love This Recipe
- Unique Texture Fusion: Combining chewy mochi and creamy ice cream creates a one-of-a-kind mouthfeel that keeps you coming back for more.
- Perfect Portion Size: These bite-sized treats let you indulge in just the right amount without feeling overly full.
- Endless Flavor Possibilities: From traditional green tea to fruity mango, the flavor options are as diverse as your cravings.
- Easy to Share: Mochi Ice Cream makes a fun and visually appealing treat to bring to parties and gatherings.
- Gluten-Free Delight: Made primarily from rice flour, it’s a safe and tasty option for gluten-sensitive dessert lovers.
Ingredients You’ll Need
Crafting Mochi Ice Cream requires only a few simple but essential ingredients that perfectly balance texture, flavor, and appearance. Each component plays a key role in delivering the classic chewy mochi exterior and smooth ice cream center you’ll adore.
- Sweet Rice Flour (Mochiko): The foundation for the mochi dough, it provides that signature stretchy, chewy texture.
- Sugar: Adds the right hint of sweetness to complement the mild flavor of the rice flour.
- Water: Helps bind the dough together and ensures the correct mochi consistency.
- Potato Starch or Cornstarch: Essential for dusting, preventing the mochi dough from sticking during handling and shaping.
- Ice Cream of Choice: The creamy filling that gives each bite its luscious flavor and smooth texture—vanilla, matcha, chocolate, or any favorite works wonderfully.
Variations for Mochi Ice Cream
One of the best things about Mochi Ice Cream is how easily it can be adapted to fit your taste buds or dietary needs. Don’t be shy about experimenting with flavors and fillings to create your own personal favorite!
- Fruit-Flavored Ice Cream: Use strawberry, mango, or blueberry ice cream for a refreshing fruity twist.
- Dairy-Free Option: Substitute traditional ice cream with coconut or almond milk-based sorbets for a vegan-friendly treat.
- Matcha Infusion: Add matcha powder to the mochi dough or ice cream for a classic Japanese flavor.
- Chocolate Mochi: Mix cocoa powder into the mochi dough for a rich, chocolaty exterior.
- Nutty Surprises: Add finely chopped nuts or a swirl of peanut butter inside the ice cream for texture and flavor boosts.

How to Make Mochi Ice Cream
Step 1: Prepare the Ice Cream Balls
Scoop your chosen ice cream into small, perfectly round balls using a melon baller or small ice cream scoop, then place them on a baking sheet lined with parchment paper. Freeze these balls for at least 2 hours to ensure they are firm enough to wrap with mochi dough.
Step 2: Make the Mochi Dough
In a microwave-safe bowl, whisk together sweet rice flour, sugar, and water until smooth. Microwave the mixture in 1-minute intervals, stirring each time, until the dough becomes thick and slightly translucent, indicating it is cooked through.
Step 3: Dust and Roll the Mochi Dough
Generously dust a clean surface with potato starch or cornstarch, then transfer the hot mochi dough onto it. Using your hands (also dusted with starch), flatten and roll the mochi dough into a thin layer about 1/4 inch thick.
Step 4: Cut the Mochi Circles
Use a round cookie cutter or cup to cut circles out of the flattened dough. These will be used to wrap the ice cream balls, so size them appropriately—usually around 3 to 4 inches in diameter works best.
Step 5: Assemble Mochi Ice Cream
Quickly place one frozen ice cream ball in the center of each mochi circle. Carefully pinch the edges of the mochi dough together to seal it around the ice cream, making sure there are no gaps or openings.
Step 6: Freeze Again Before Serving
Place the assembled mochi ice cream balls back onto a tray and freeze for at least 2 more hours to allow the mochi to firm up and the ice cream to stay perfectly frozen inside.
Pro Tips for Making Mochi Ice Cream
- Work Quickly: The softer mochi dough can become sticky fast, so handle with dusted hands and avoid overworking.
- Use Potato Starch: It’s less clumpy than cornstarch for dusting and gives the best texture on the mochi surface.
- Freeze Ice Cream Balls Well: Make sure your ice cream balls are very frozen before wrapping to prevent melting and mess.
- Seal Edges Tightly: Proper sealing keeps the ice cream inside and retains the mochi shape during freezing and serving.
- Store in an Airtight Container: Prevent freezer burn and preserve freshness by storing mochi ice cream in airtight containers with layers separated by parchment paper.
How to Serve Mochi Ice Cream
Garnishes
Sprinkle toasted sesame seeds or a light dusting of matcha powder on top of the mochi ice cream to add a subtle nuttiness and visual appeal that explodes flavor and captivates the eyes.
Side Dishes
Pair mochi ice cream with light, refreshing sides such as sliced fresh fruit, a drizzle of sweet red bean paste, or even a cup of warm green tea to balance the cold, creamy dessert.
Creative Ways to Present
Serve mochi ice cream on elegant dessert plates or in colorful bamboo cups to embrace its Asian roots, or arrange a variety of flavors into a vibrant dessert platter for a fun, festive vibe at parties.
Make Ahead and Storage
Storing Leftovers
Keep any leftover Mochi Ice Cream in a tightly sealed container layered with parchment paper to avoid sticking and store it in the coldest part of your freezer for up to two weeks.
Freezing
Freezing mochi ice cream immediately after assembly ensures the mochi maintains its chewy texture while the ice cream stays perfectly solid, retaining the ideal balance of flavors and mouthfeel.
Reheating
Mochi Ice Cream is best enjoyed frozen, so avoid reheating; instead, let it sit at room temperature for a few minutes before eating to soften slightly and bring out the flavors.
FAQs
What is Mochi Ice Cream made of?
Mochi Ice Cream consists of a chewy outer layer made from sweet rice flour dough wrapped around a small ball of creamy ice cream filling.
Is Mochi Ice Cream gluten-free?
Yes, Mochi Ice Cream is naturally gluten-free because it uses sweet rice flour instead of wheat flour for the mochi dough.
Can I make Mochi Ice Cream without a microwave?
Absolutely! You can steam the mochi dough mixture on the stovetop instead of microwaving, just be sure to keep stirring until the dough is cooked through.
How long should Mochi Ice Cream be frozen before serving?
For the best texture, freeze the assembled Mochi Ice Cream for at least 2 to 3 hours, or until the ice cream is firm and the mochi is set.
What flavors of ice cream work best?
Classic flavors like vanilla, green tea (matcha), chocolate, and fruit flavors such as mango or strawberry work beautifully, but feel free to experiment with your favorites.
Final Thoughts
If you’re looking to delight your taste buds and add a fun, chewy twist to your dessert routine, Mochi Ice Cream is your perfect pick. It’s simple to make, endlessly customizable, and utterly delicious—a new favorite treat you’ll be excited to share with loved ones.
Related Posts
- Irresistible Strawberry Shortcake Cheesecake Rolls Recipe
- Easy Chocolate Peanut Butter Dream Bars Recipe
- Irresistible Dr. Pepper Brownies to Try Now

Mochi Ice Cream
- Total Time: 4 hours 30 minutes (including freezing time)
- Yield: 12 to 16 pieces 1x
- Diet: Gluten Free
Description
Mochi Ice Cream combines the chewy, stretchy texture of traditional mochi dough made from sweet rice flour with a smooth, creamy ice cream center. This bite-sized, gluten-free dessert offers a unique fusion of textures and endless flavor possibilities, perfect for sharing or indulging in a perfect portion size. Easy to make and customize, mochi ice cream is a delightful treat that balances chewy exterior and luscious filling for a fun and satisfying dessert experience.
Ingredients
Mochi Dough
- 1 cup Sweet Rice Flour (Mochiko)
- 1/4 cup Sugar
- 2/3 cup Water
- Potato Starch or Cornstarch (for dusting)
Ice Cream Filling
- Ice Cream of choice (vanilla, matcha, chocolate, mango, strawberry, or preferred flavor)
Instructions
- Prepare the Ice Cream Balls: Scoop your chosen ice cream into small, perfectly round balls using a melon baller or small ice cream scoop, then place them on a baking sheet lined with parchment paper. Freeze these balls for at least 2 hours to ensure they are firm enough to wrap with mochi dough.
- Make the Mochi Dough: In a microwave-safe bowl, whisk together sweet rice flour, sugar, and water until smooth. Microwave the mixture in 1-minute intervals, stirring each time, until the dough becomes thick and slightly translucent, indicating it is cooked through.
- Dust and Roll the Mochi Dough: Generously dust a clean surface with potato starch or cornstarch, then transfer the hot mochi dough onto it. Using your hands (also dusted with starch), flatten and roll the mochi dough into a thin layer about 1/4 inch thick.
- Cut the Mochi Circles: Use a round cookie cutter or cup to cut circles out of the flattened dough. These will be used to wrap the ice cream balls, so size them appropriately—usually around 3 to 4 inches in diameter works best.
- Assemble Mochi Ice Cream: Quickly place one frozen ice cream ball in the center of each mochi circle. Carefully pinch the edges of the mochi dough together to seal it around the ice cream, making sure there are no gaps or openings.
- Freeze Again Before Serving: Place the assembled mochi ice cream balls back onto a tray and freeze for at least 2 more hours to allow the mochi to firm up and the ice cream to stay perfectly frozen inside.
Notes
- Work Quickly: The softer mochi dough can become sticky fast, so handle with dusted hands and avoid overworking.
- Use Potato Starch: It’s less clumpy than cornstarch for dusting and gives the best texture on the mochi surface.
- Freeze Ice Cream Balls Well: Make sure your ice cream balls are very frozen before wrapping to prevent melting and mess.
- Seal Edges Tightly: Proper sealing keeps the ice cream inside and retains the mochi shape during freezing and serving.
- Store in an Airtight Container: Prevent freezer burn and preserve freshness by storing mochi ice cream in airtight containers with layers separated by parchment paper.
- Prep Time: 20 minutes
- Cook Time: 6 minutes (microwaving mochi dough)
- Category: Appetizers
- Method: Microwaving and Freezing
- Cuisine: Japanese
Nutrition
- Serving Size: 1 piece (approx. 30g)
- Calories: 90
- Sugar: 8g
- Sodium: 5mg
- Fat: 4g
- Saturated Fat: 2.5g
- Unsaturated Fat: 1g
- Trans Fat: 0g
- Carbohydrates: 12g
- Fiber: 0.2g
- Protein: 1g
- Cholesterol: 15mg
Keywords: mochi ice cream, gluten free dessert, Japanese dessert, sweet rice flour dessert, chew dessert, bite-sized dessert, homemade mochi, frozen dessert