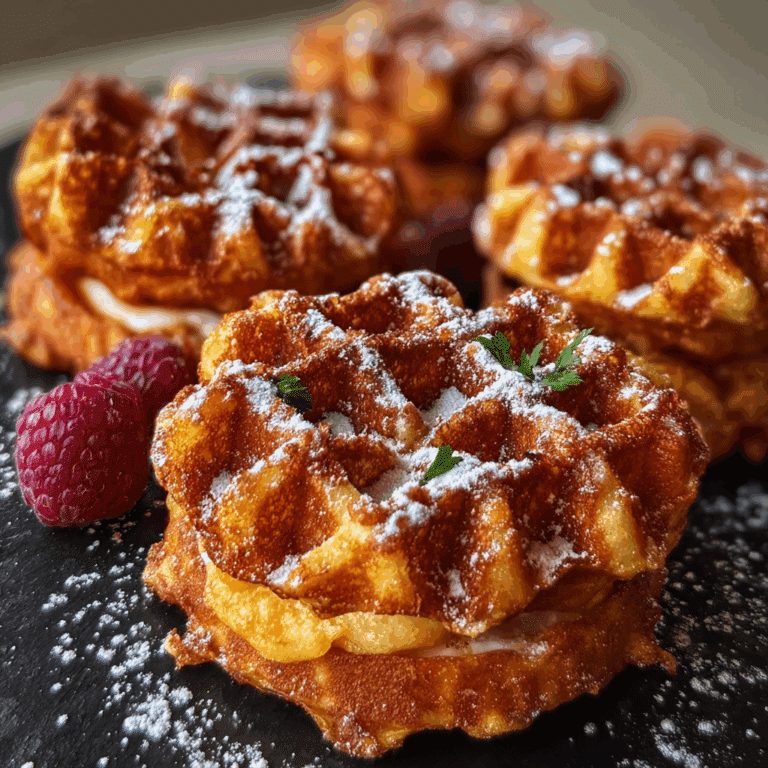
Chocolate Buttermilk Waffles
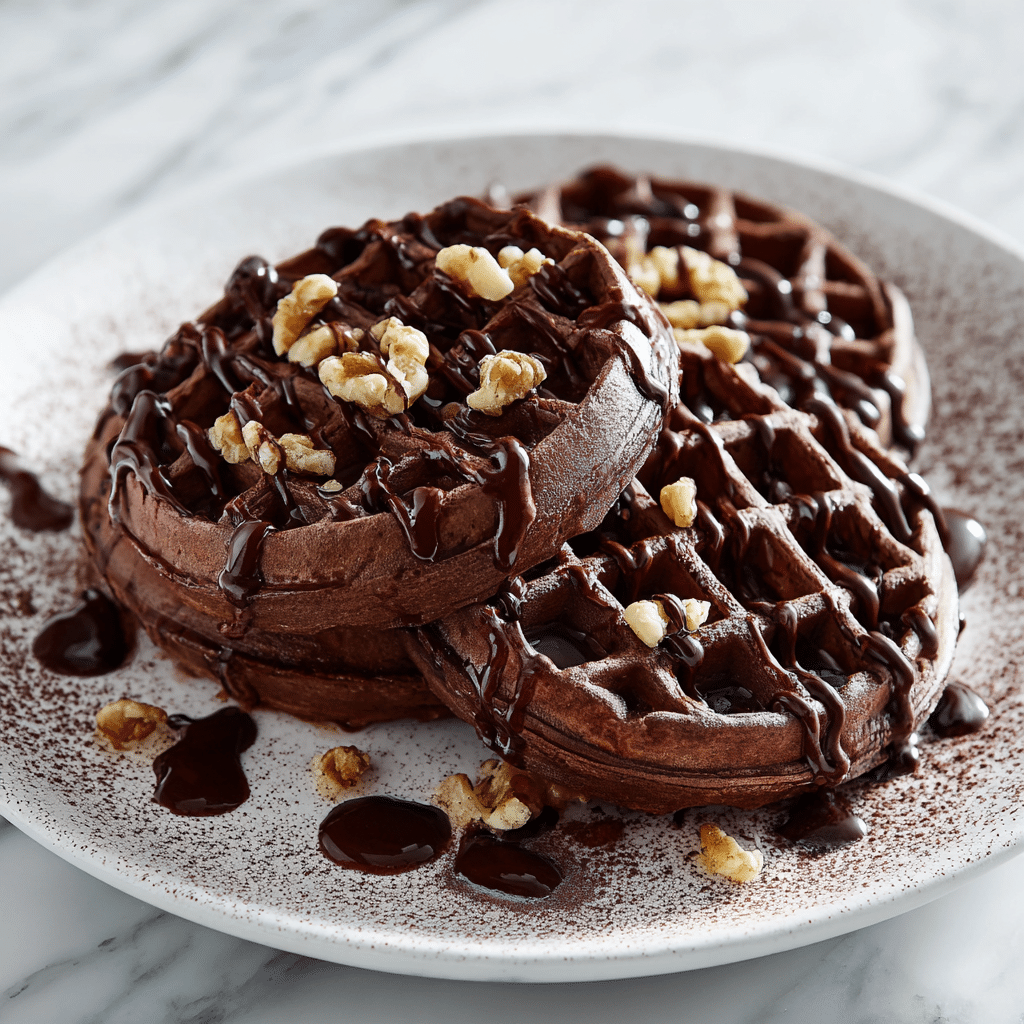
Discover fluffy, rich Chocolate Buttermilk Waffles that melt in your mouth and bring pure joy to your breakfast table. This recipe combines the tangy goodness of buttermilk with luscious cocoa to create chocolate waffles packed with flavor and perfect texture. Whether you’re aiming for a weekend treat or a special brunch, these Chocolate Buttermilk Waffles are easy to make and impossible to resist.
Why You’ll Love This Recipe
- Perfect texture: Light, airy, and crispy edges come together for an irresistible bite every time.
- Rich chocolate flavor: Cocoa powder blends beautifully with buttermilk for a deep, indulgent taste.
- Simple ingredients: Pantry staples come together effortlessly to deliver an extraordinary breakfast.
- Quick to prepare: Mix and cook within minutes, ideal for busy mornings or spontaneous brunches.
- Customizable: Easily adapts to your favorite add-ins and toppings for endless variety.
Ingredients You’ll Need
These ingredients are straightforward but essential for making authentic Chocolate Buttermilk Waffles. Each one plays a key role in building flavor, tenderness, and that iconic waffle crisp.
- All-purpose flour: Provides a sturdy base that keeps waffles tender yet structured.
- Cocoa powder: Adds rich chocolate flavor and a beautiful dark color.
- Baking powder and baking soda: Help the waffles rise and stay fluffy.
- Salt: Balances sweetness and enhances the chocolate taste.
- Granulated sugar: Sweetens the batter without overpowering the chocolate.
- Buttermilk: Offers tanginess that tenderizes the batter and reacts with leaveners for fluffiness.
- Eggs: Bind ingredients together and add richness.
- Vegetable oil or melted butter: Keeps waffles moist and crispy when cooked.
- Vanilla extract: Boosts depth of flavor with warm, sweet notes.
Variations for Chocolate Buttermilk Waffles
Feel free to customize these Chocolate Buttermilk Waffles to perfectly match your cravings or dietary needs. It’s a simple recipe that welcomes plenty of creativity and substitutions.
- Nutty twist: Add chopped walnuts or pecans for a delightful crunch.
- Berry boost: Mix fresh or frozen blueberries right into the batter for bursts of juicy sweetness.
- Vegan adaptation: Substitute buttermilk with a plant-based alternative and use flax eggs instead.
- Spiced chocolate: Add a pinch of cinnamon or chili powder for a warm or spicy kick.
- Protein-packed: Stir in a scoop of your favorite protein powder for a filling breakfast.

How to Make Chocolate Buttermilk Waffles
Step 1: Prepare the Dry Ingredients
In a large bowl, whisk together all-purpose flour, cocoa powder, baking powder, baking soda, salt, and sugar until evenly combined. This ensures your chocolate flavor and leavening agents are distributed perfectly throughout the batter.
Step 2: Mix the Wet Ingredients
In another bowl, beat the eggs with buttermilk, oil (or melted butter), and vanilla extract until smooth. The buttermilk provides a tangy note that balances the richness of chocolate, while the oil keeps waffles tender.
Step 3: Combine Wet and Dry Mixtures
Pour the wet ingredients into the dry mixture gradually, folding gently until just combined. Avoid overmixing to maintain lightness and prevent dense waffles.
Step 4: Preheat Your Waffle Iron
Heat the waffle iron according to the manufacturer’s instructions and lightly grease it to avoid sticking. A well-heated iron is key for achieving crispy outer layers and perfectly cooked centers.
Step 5: Cook the Waffles
Pour the batter onto the waffle iron, spreading it evenly. Close and cook until waffles are firm and crispy, usually about 3-5 minutes depending on your appliance.
Step 6: Serve and Enjoy
Carefully remove waffles and serve immediately with your favorite toppings or sides. If making multiple waffles, keep finished ones warm in a low oven until ready to serve.
Pro Tips for Making Chocolate Buttermilk Waffles
- Room temperature eggs: Use eggs at room temperature for better batter emulsification and fluffier waffles.
- Don’t overmix: Stir the batter just until combined to ensure tender waffles with good rise.
- Preheat the waffle iron: This prevents sticking and helps develop crisp edges instantly.
- Use buttermilk: It reacts with baking soda for perfect fluffiness and adds subtle tang.
- Keep waffles warm: Store cooked waffles in a single layer on a wire rack in a warm oven to keep crisp.
How to Serve Chocolate Buttermilk Waffles
Garnishes
Top your Chocolate Buttermilk Waffles with fresh whipped cream, fresh berries, a drizzle of maple syrup or chocolate sauce, and a sprinkle of powdered sugar for an extra touch of delight.
Side Dishes
Serve these waffles alongside crispy bacon, fresh fruit salad, or a dollop of Greek yogurt to balance richness and bring freshness to your plate.
Creative Ways to Present
Stack several waffles with layers of mascarpone and fruit for a stunning brunch centerpiece, or cut into bite-sized pieces for waffle sticks dipped in chocolate or caramel sauces—a perfect party snack.
Make Ahead and Storage
Storing Leftovers
Store leftover waffles in an airtight container in the refrigerator for up to 3 days. Place parchment paper between layers to prevent sticking and maintain texture.
Freezing
Freeze waffles individually on a baking sheet before transferring them to a freezer bag. This keeps them from clumping and makes reheating convenient for up to 1 month.
Reheating
Reheat waffles in a toaster or oven at 350°F (175°C) for 5-7 minutes to bring back crispiness and warmth, as microwaving can leave them soggy.
FAQs
Can I use regular milk instead of buttermilk?
Yes, but to mimic the tanginess, add 1 tablespoon of lemon juice or vinegar to 1 cup of regular milk and let it sit for 5 minutes before using.
How do I prevent my waffles from sticking to the iron?
Ensure your waffle iron is well preheated and lightly greased with oil or non-stick spray before adding batter.
Can I make these waffles gluten-free?
Absolutely! Substitute all-purpose flour with a gluten-free flour blend that includes xanthan gum for structure and follow the recipe as usual.
Are Chocolate Buttermilk Waffles suitable for freezing?
Yes, they freeze wonderfully when stored properly and can be reheated quickly for a fast, delicious breakfast anytime.
Can I add chocolate chips to the batter?
Definitely! Fold in chocolate chips for bursts of melted chocolate in every bite—just be sure not to overfill the waffle iron.
Final Thoughts
There’s something truly special about starting your day with warm, homemade Chocolate Buttermilk Waffles. This recipe offers a delightful balance of rich chocolate flavor with light, fluffy texture thanks to the magic of buttermilk. Give it a try—you’ll likely find it becomes a beloved staple for weekend breakfasts and festive brunches. Happy cooking and even happier eating!
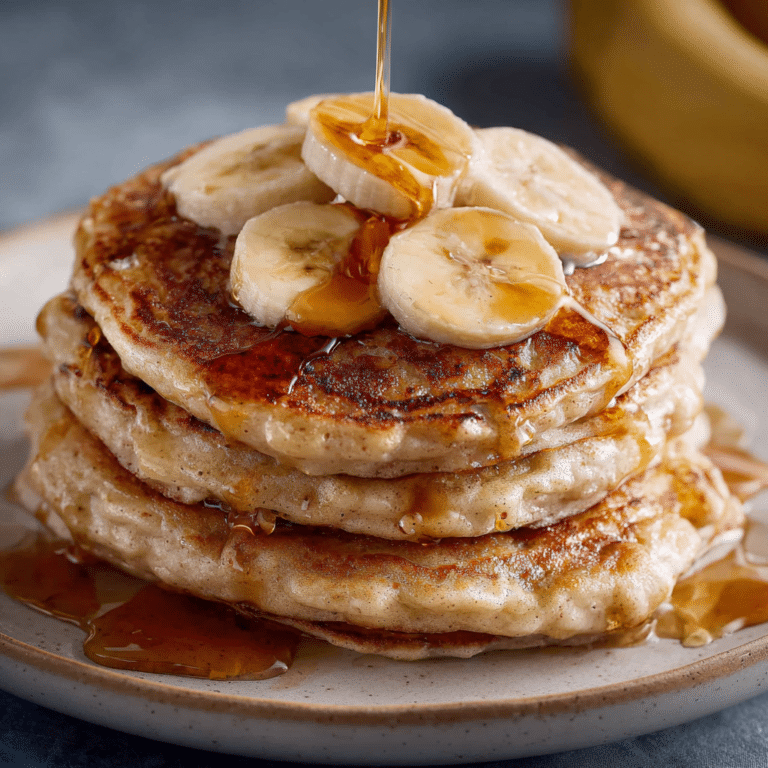
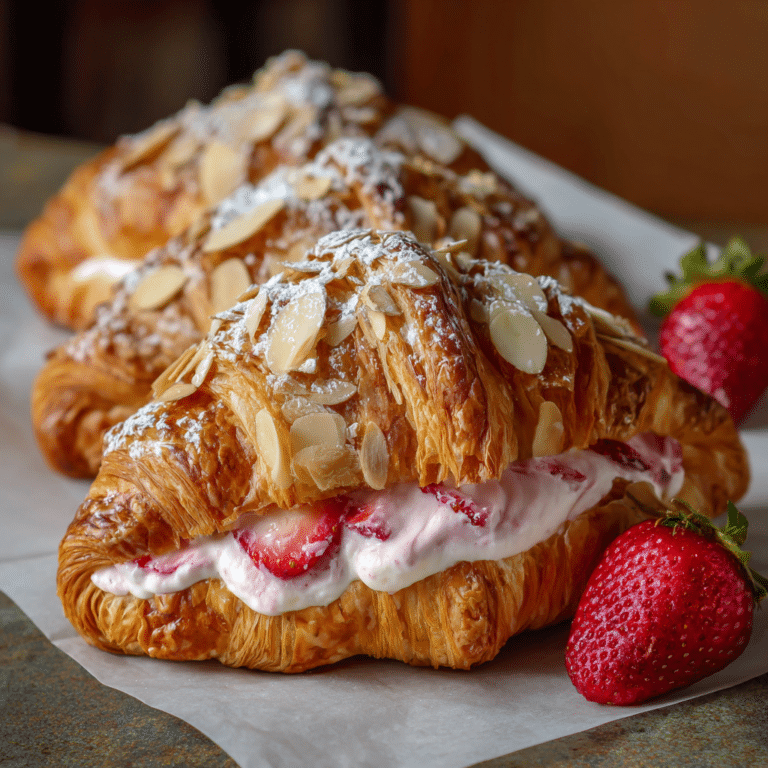
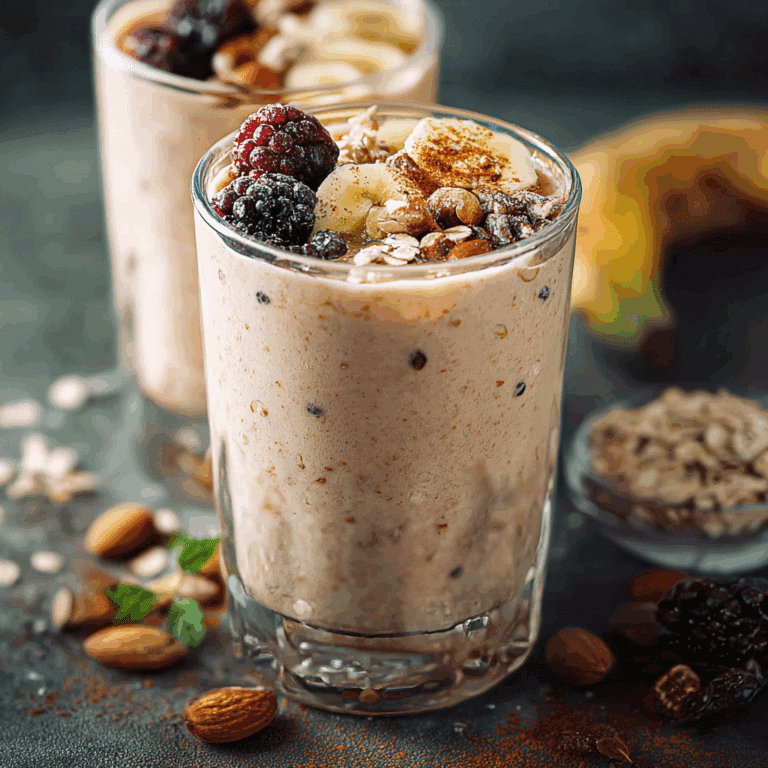
Related Posts
Print
Chocolate Buttermilk Waffles
- Total Time: 25 minutes
- Yield: 6-8 waffles 1x
- Diet: Can be gluten-free with suitable flour substitute
Description
Fluffy, rich Chocolate Buttermilk Waffles combine the tangy goodness of buttermilk with luscious cocoa to create waffles packed with deep chocolate flavor and perfect airy texture. Easy and quick to prepare, these waffles are ideal for weekend treats or special brunches and customizable with a variety of add-ins and toppings.
Ingredients
Dry Ingredients
- 1 ¾ cups all-purpose flour
- ¼ cup cocoa powder
- 1 teaspoon baking powder
- ½ teaspoon baking soda
- ½ teaspoon salt
- 2 tablespoons granulated sugar
Wet Ingredients
- 2 large eggs, room temperature
- 1 ¾ cups buttermilk
- ¼ cup vegetable oil or melted butter
- 1 teaspoon vanilla extract
Instructions
- Prepare the Dry Ingredients: In a large bowl, whisk together the all-purpose flour, cocoa powder, baking powder, baking soda, salt, and granulated sugar until evenly combined. This ensures proper distribution of chocolate flavor and leavening agents throughout the batter.
- Mix the Wet Ingredients: In another bowl, beat the eggs with the buttermilk, vegetable oil (or melted butter), and vanilla extract until smooth. The buttermilk adds tanginess that balances the chocolate’s richness, and the oil keeps the waffles tender.
- Combine Wet and Dry Mixtures: Gradually pour the wet ingredients into the dry mixture, folding gently until just combined. Be careful not to overmix to maintain lightness and prevent dense waffles.
- Preheat Your Waffle Iron: Heat the waffle iron according to the manufacturer’s instructions and lightly grease it to prevent sticking. A well-heated iron is essential for achieving crispy edges and perfectly cooked centers.
- Cook the Waffles: Pour the batter onto the waffle iron, spreading it evenly. Close and cook until waffles are firm and crispy, usually 3–5 minutes depending on your appliance.
- Serve and Enjoy: Carefully remove the waffles and serve immediately with your favorite toppings or sides. To keep multiple waffles warm, place finished ones in a low oven until ready to serve.
Notes
- Use room temperature eggs for better emulsification and fluffier waffles.
- Mix batter just until combined to avoid tough waffles.
- Always preheat the waffle iron well before cooking.
- Use real buttermilk for best flavor and fluffiness; see FAQs for substitutions.
- Keep cooked waffles warm on a wire rack in a low oven to maintain crispness.
- Prep Time: 10 minutes
- Cook Time: 15 minutes
- Category: Breakfast
- Method: Cooking on waffle iron
- Cuisine: American
Nutrition
- Serving Size: 1 waffle
- Calories: 220
- Sugar: 8g
- Sodium: 250mg
- Fat: 10g
- Saturated Fat: 2.5g
- Unsaturated Fat: 7g
- Trans Fat: 0g
- Carbohydrates: 28g
- Fiber: 2g
- Protein: 6g
- Cholesterol: 55mg
Keywords: chocolate waffles, buttermilk waffles, breakfast, brunch, easy waffles, fluffy waffles, chocolate breakfast